Sunday, July 18, 2010

Jalapeno Cheddar Sandwich Bread


As soon as I saw this recipe for Jalapeno Cheddar Bread, I knew I needed to make it. I went out to the grocery store that day and bought the few ingredients I was missing and got to work right away. The smell of the cheddar and jalapenos permeating the air made turning my oven on (twice!) during a 100+ degree day totally worth it.

This is not the same kind of jalapeno cheddar bread you'll find in the bakery section of the grocery store. This is a loaf of bread intended to be sliced up for sandwiches, not the round hunk covered in melted cheddar and jalapeno slices.

As soon as this was cool enough to cut into, I started slicing chunks off to eat, warm and soft. Slathered with soft butter, or even plain, this bread is so good, that I haven't even tried making sandwiches with it yet!

Next time I might add some dried crushed jalapeno to add a bit more spice to the bread. I'd also knead in more cheese, creating pockets of cheddar throughout the bread. I felt like the cheese was too mixed into the dough, though since I didn't use a sharp cheddar, my opinion may be skewed. Overall, I loved this bread and plan to make it again and again; it will definitely liven up my workweek sandwiches this year!

Jalapeno Cheddar Sandwich Bread
Source: Pink Parsley

Printable Recipe

Ingredients
3 3/4 cups all purpose flour
2 teaspoons salt
1 cup cold buttermilk (I used regular milk and added some vinegar)
1/3 cup water
2 Tablespoons unsalted butter, melted
3 Tablespoons honey
2 1/4 teaspoons yeast (1 envelope)
4 small jalapenos, seeds and ribs removed, diced
1 1/2 cups sharp cheddar cheese

Directions
Adjust one oven rack to the lowest position, and another to the middle position. Heat the oven to 200 degrees. When it is preheated, maintain the temperature for 10 minutes, then turn off the oven.

Toss the jalapeno and 1 cup of the cheddar with 1 Tablespoon of flour in a small bowl.

Bring the water to a boil in a small saucepan. Remove from heat and add the cold buttermilk and stir to combine.

Mix 3 1/2 cups of the flour and the salt in the bowl of a stand mixer fitted with a dough hook.

Add the buttermilk/water mixture, butter, honey, and yeast to a liquid measuring cup. Turn the mixer on low, and add the liquid in a slow stream, increasing the speed of the mixer as you go to medium. Continue mixing until the dough is smooth and satiny, stopping to scrape the dough from the hook as needed.

After about 2-3 minutes add the jalapeno-cheese mixture, and continue to knead about 10 minutes total, adding the remaining flour 1 Tablespoon at a time, as necessary to keep the dough from sticking to the sides of the bowl.

Turn the dough out onto a lightly floured surface and knead to form a smooth ball, about 15 seconds. Knead in the remaining 1/2 cup cheese to create pockets of cheddar in the bread.

Place the dough in a lightly oiled bowl, rubbing the dough around the bowl to coat with the oil. Cover tightly with plastic wrap and place the bowl in the oven until the dough doubles in size, 50-60 minutes.

Turn out onto the floured surface and gently press the dough into a rectangle that is 1 inch thick and 9 inches long. With the long side facing you, roll the dough firmly into a cylinder, pressing with your fingers as you roll to make sure the dough sticks to itself. Turn the dough seam-side up and pinch it closed.

Place the dough seam-side down in a greased 9x5 inch loaf pan, and press it gently to make sure it touches all four sides of the pan. Cover with a clean kitchen towel and allow to rise in a warm spot until the dough almost doubles in size, 20-30 minutes (Note: I placed my dough in the garage to rise on a hot day, cutting the rising time in half).

Preheat the oven to 350 degrees. Place an empty baking pan on the lowest rack of the oven. Bring 2 cups of water to a boil and pour into the empty pan. Set the loaf onto the middle rack, and bake until an instant-read thermometer inserted into the center of the loaf reads 195 degrees, about 40-50 minutes.

Remove the bread from the pan and cool to room temperature on a wire rack. Slice and serve.

Wednesday, July 14, 2010

Beer-A-Ritas


I have been to three 1st birthdays this summer. In a few weeks, I'll be headed to another. The husband and I do not have children (yet), so while I LOVE playing with my friends' babies, I always kind of feel like the creeper adult at these events. Unless they have booze. Then I can just drink some beers while chatting with my friends and cheering for the kiddos swingin away at the pinata.

At a recent 1st birthday party the husband and I attended, I learned how to make beer-a-ritas. That's right, I learned a new boozy beverage while in attendance at a child's birthday party. Well, to be fair, we arrived a day early and helped set up for the party, so the idea for beer-a-ritas was brought up before the party began. While L and I set up for the shin dig, the men folk were sent to the store to stock up on hot dogs, condiments, and beverages, which introduced the idea of making a batch of beer-a-ritas. We joked about having a VIP section with wristbands for the alcohol, so as not to offend the non-drinking adults in attendance, but once word got around about this wonderful beverage, people were lining up for a glass. Our first double batch dissapeared quickly, so I convinced L we should whip up another bowl-full.

Though beer and tequila mixed together might not sound too tasty, let me tell you, the two are a perfect pairing! So much so that the beer-a-ritas didn't taste boozy, making it easy to knock back one or two....or four. Just don't hurt your brain trying to figure out where the combination fits in with the old adage, "Beer before liquor, never been sicker. Liquor before beer, you're in the clear."

A word of warning: Do NOT drink these on an empty stomach. Eat a couple of hot dogs or some birthday cake before imbibing; these bad boys pack a punch!

Beer-A-Ritas
Source: Our amazing friends!

Printable Recipe


Ingredients

12 ounces Newcastle beer (you can use other beer if you want, but the Newcastle is ah-mazing!)
12 ounces Tequila
12 ounces water
10 ounces frozen limeaide concentrate
ice

Directions
Pour all ingredients into a large bowl or pitcher and mix well.

Pour into a glass, add a bit of ice, and a squeeze of lime, if desired.

Tuesday, July 13, 2010

Oatmeal Applesauce Muffins


The husband and I recently headed up the coast a bit to visit some friends for the weekend and celebrate their daughter's 1st birthday. This was our first trip up to see them, after they've made many visits down here, and we were spending the weekend in their (gorgeous!) home, so I wanted to bring a 'thank you' treat. I figured with two small children, fruit muffins would be appreciated-they're great for a healthy afternoon snack or quick breakfast.

I hesitated on whether or not I should bring them after asking the husband his opinion once I took them out of the oven. I wasn't offering a taste, so he just took a look and made a face, saying they didn't look that great. I waffled back and forth over taking them or not, but as there wasn't enough time to make anything else, I decided to just go ahead and pack em up, ugly or not.

Thankfully, our friends care less about looks and more about taste, and were more than happy to receive these muffins. G, who is obsessed with fiber, was even more excited when I told him they were made with whole wheat flour, oats, and tons of fruit...in other words, packed with fiber. The kiddos made quick work of a couple muffins right away, gobbling them down as a late afternoon snack. Their one-year-old daughter seemed to especially like them, eating two in quick succession!

Oatmeal Applesauce Muffins
Source: Adapted from Joy the Baker
Printable Recipe

Ingredients
1 1/4 cups whole wheat flour
1 1/4 cups oats
1 teaspoon baking powder
1/2 teaspoon baking soda
1/4 teaspoon salt
1 teaspoon cinnamon
1/4 teaspoon nutmeg
1 cup unsweetened applesauce
1/2 cup low-fat buttermilk
1/2 cup firmly packed brown sugar
2 Tablespoon canola oil
1 large egg lightly beaten
1 cup berries, fresh or frozen (I used a combination of frozen mixed berries and sliced fresh strawberries)
Strawberry halves for garnish, optional

Directions
Preheat the oven to 375 degrees. Spray a muffin pan with nonstick spray, or line with paper liners.

In a large bowl, combine the flour, oats, baking powder, baking soda, salt, cinnamon and nutmeg. Stir just until combined.

In a separate medium bowl, combine the applesauce, buttermilk, brown sugar, oil and egg. Stir until combined.

Pour the wet ingredients into the flour mixture and stir just until combined. Gently fold in the fruit with a spatula.

Friday, July 9, 2010

Cinnamon Ice Cream


What can I say? David Lebovitz knows ice cream. His cookbook, The Perfect Scoop, is the Bible of ice cream recipes, in my opinion. Every batch of ice cream I've made from his tome has been a definite home run, and this was no exception.

As always, the ice cream was smooth, creamy, and perfectly flavorful. The recipe calls for 10 cinnamon sticks to be steeped in the milk and cream for an hour--this imparts a warm, spicy-sweet flavor that is the star of the dish. It reminded me slightly of Red Hots candy, but was also Christmasy; this would pair wondefully with a warm slice of apple pie or pumpkin pie on Thanksgiving. It's a perfect summer treat as well. In fact, I don't know when this ice cream wouldn't be a good addition to the table.

I bought my cinnamon sticks in bulk in the Hispanic aisle of the grocery store, located next to the other bulk spices.

Cinnamon Ice Cream

Source: The Perfect Scoop

Printable Recipe


Ingredients

1 cup whole milk
3/4 cup sugar
pinch salt
10 cinnamon sticks, broken up
2 cups heavy cream
5 large egg yolks

Directions
In a medium saucepan, warm the milk, sugar, salt, cinnamon sticks and 1 cup of the heavy cream. Once warm (not boiling), cover, remove from the heat and let steep at room temperature for one hour.

Rewarm the cinnamon-infused milk. Remove the cinnamon sticks with a slotted spoon and discard them. Pour the remaining one cup heavy cream into a large bowl and set a mesh strainer on top.

In a separate medium bowl, whisk the egg yolks together. Slowly pour the warm cinnamon-milk mixture into the egg yolks, whisking constantly. (Note: I temper the eggs by pouring just a small amount of the warmed milk in first and whisking, before slowly pouring in the remaining milk mixture.) Scrape the warmed egg yolks back into the saucepan.

Constantly stir the mixture over medium heat with a spatula, scraping the bottom as you stir, until the mixture thickens and coats the spatula. Pour this custard through the strainer and into the heavy cream. Stir until cool over an ice bath.

Chill in the refrigerator overnight, then freeze in your ice cream maker according to manufacturer's directions. Scrape into a freezer safe storage container (I use Gladware) and freeze.

Wednesday, July 7, 2010

Rosemary Dijon Salmon Burgers


I posted this recipe a few months ago, but without any commentary or pictures, and with the unappealing title "Salmon Patties." All of these things added up to a less than stellar, not to mention enticing, post.

The burgers were a huge hit with the husband, who asked that I make them every two weeks, so I felt like a new post was in order. I made the salmon burgers again, much to the excitement of the husband, and dressed them up with slices of avocado and garden fresh tomatoes. Even I, who doesn't care too much for fish (unless it's sushi!), loved these burgers. We use sandwich thins as our buns, which cuts down on the carbs and really lets the flavor of the burger stand out.

Rosemary Dijon Salmon Burgers
Source: Adapted from Serious Eats
Printable Recipe


Ingredients

4 salmon fillets, skin removed (about 1 1/2 pounds)
2 teaspoons Dijon mustard
1 teaspoon Deli Mustard (optional)
1 tablespoon black pepper
4 green onions, roughly chopped
2 teaspoons fresh rosemary, chopped
1/2 bread crumbs
pinch salt
juice of 1/2 a lemon

Topping Ideas
Dijon mustard
ketchup
mayo
tarter sauce
tomato slices
avocado slices
lettuce

Directions

Cut the salmon fillets into large chunks. Put about 1/3 of the salmon in a food processor, with the mustard and pepper. Process until the mixture becomes a thick paste, scraping down the sides as needed. Add the green onions towards the end and process so they are finely chopped into the fish.

Add in the rest of the salmon and the rosemary and process just until the larger chunks are combined with the salmon mixture. The fish should still be in chunks, about a 1/4", not completely pureed.

Scrape the fish into a bowl and add the bread crumbs and lemon juice. Mix together, then form into 4-6 patties of even thickness.

Grill for about 3-4 minutes per side, until the patties reach an internal temperature of about 150 degrees.

Dress with bun and topping and enjoy!

Monday, July 5, 2010

Whole Wheat Pita


Once I made homemade hummus, I knew I needed to try homemade pita; the two are just made for each other. I am so glad I finally tried my hand at this recipe; these pita turned out soft and flavorful and paired perfectly with some sliced grilled chicken and hummus.

The process is a bit time consuming, though not difficult. I put my bowl of dough in the garage to help speed up the rising process, especially since I had the A/C blasting while making these, transforming my kitchen into a cool, drafty space-pretty much the exact opposite of the environment needed for dough to rise.

Whole Wheat Pita
Source: Annie's Eats

Printable Recipe

Ingredients

2 ¼ teaspoon instant yeast
1 Tablespoon honey
1¼ cups warm water
1½ cups bread flour
1½ cups whole wheat flour
¼ cup extra-virgin olive oil
1 teaspoon salt
Cornmeal, for sprinkling

Directions
Combine the yeast, honey and 1/2 cup of the water in the bowl of a stand mixer, fitted with the paddle attachment, and stir to combine. Add in 1/4 cup of the bread flour and 1/4 cup whole wheat flour, and mix until smooth.

Cover the bowl with plastic wrap and let sit until doubled in size, about 45 minutes.

Remove the plastic wrap and return the bowl to the mixer, fitted with the dough hook attachment. Add in the remaining 3/4 cup water, 1/4 cup bread flour, 1 1/4 cup wheat flour, olive oil and salt. Knead on low speed for about 8 minutes; the dough should be smooth and elastic.

Lightly oil a large bowl (I sprayed mine with Pam), and transfer the dough to the bowl, turning it over once to coat. Loosely cover the bowl with plastic wrap or clean kitchen towels and let rise in a warm place for about an hour, until the dough has doubled in size.

Preheat your oven to 500 degrees, with the rack in the middle position. Preheat your baking stone, on the middle rack, at this time.

Once the dough has risen, transfer it to a lightly floured surface and punch down the dough. Then, divide it into 8 equal pieces (I used a ruler to measure it out and cut the dough with a long knife).

Form each piece into a ball. Working with one piece at a time, flatten each ball into a disk, then stretch out into a 6½-7 inch circle. Transfer the rounds to a baking sheet lined with parchment paper and lightly sprinkled with cornmeal.

Once all the rounds have been shaped, loosely cover the sheet with clean kitchen towels. Let stand at room temperature for 30 minutes, until slightly puffy.

Transfer 4 pitas, one at a time, to your hot baking stone (you can also bake these on a baking sheet) and bake for 2 minutes. Using tongs, gently flip each pita over and bake for an additional minute. Set the cooked pitas on a rack to cool and repeat with the remaining dough.

Store in a large ziplock bag or other airtight container in the refrigerator.

Thursday, July 1, 2010

Vacation's all I ever wanted, Vacation's all I ever needed...


I know this is a food blog and all, but I'm serving up a post on my recent Catalina Island vacation. The husband and I spent 3 days in the tiny harbor town of Avalon, and I took a bunch of photos that I want to AW, so that's what I am going to do. Not to worry though; despite my recent absenteeism, I do plan to return to regular food blogging again. In fact, I even have a pita post all set to go next week (I've also written up a post on homemade chocolate ice cream for your enjoyment, but the husband keeps eating it all before I can get a picture)! :)

But for now, take a trip 22 miles off the Long Beach shore and suck in all the summer sun...


We flew from Long Beach to Avalon in a helicopter, which was very cool. But since it was hella foggy out, there wasn't much to see until we broke through the cloud cover a few miles out from the island. The view of the harbor was a-MAZ-ing! I was super lucky and got to sit up front, next to the pilot, which afforded me the best views in the chopper. The husband was relegated to a window seat in the back, next to a woman and her elderly, cancer-stricken mother.


After we dropped off our bags at our incredibly pink hotel, Hotel St. Lauren, we headed out to explore. And found a restaurant serving $5 mojitos, which just happen to be our favorite beverage. Score!


The bartender seemed a bit frazzled when we asked for a round of mojitos, which he later informed us was due to the fact that they were nearly out of mint.


We each had about 2 and a half mojitos before he officially ran out of the key ingredient, ending the $5 special. For the next 3 days. That's island life, I guess.


After imbibing and watching some World Cup, we decided to go on a glass bottom boat tour, something I have *always* wanted to do. I imagined an undersea world of color, filled with coral reefs, a rainbow of fish, and possibly an octopus or starfish sighting. Wrong.

If you ever find yourself in Catalina, skip the glass bottom boat tour and go do something more fun. We saw about a million perch, some striped bass, a few Garibaldi (which just look like huge goldfish) and a ton of huge kelp plants. It didn't help that the sunken seating prevented me from getting a good view of the horizon, leaving me slightly sea sick.

I didn't take any photos on the tour because fat, grey fish are boring. Go to your nearest grocery store, walk back to the seafood department, look at the whole fish laying on ice, imagine them in a state of gross obesity, and you'll see pretty much the same thing we saw. The kids on the boat were beyond excited, but I was bored and wishing we'd spent our money on something better. Also, since the boat cruised on over into Lover's Cove, which allegedly has the best snorkeling in Avalon, I knew to skip renting snorkel gear; I didn't want to pay twice to see overweight grocery store fish and huge goldfish. Fool me once...

After a semi-good dinner at El Galleon (teriyaki-glazed shrimp and steak kabobs with white rice and butter soaked veggies for me. BBQ sauce smothered, incredibly tender, ribs with burnt mashed potatos and the same veggies for The Husband. And a couple Shiner Bocks to wash it all down.) we walked over to The Casino (not a gambling venue though) and then headed over to Descanso Beach. We walked down to some steps leading into the ocean, an easy access entrance for scuba divers, and watched the rising tide. I found a few small crabs blowing spit bubbles on the rocks. One particular crab was very camera shy; every time I pulled out our little point and shoot camera, it scurried away. But I was determined to take its picture, darnit, so I just waited until it thought I didn't notice it crab-walking its way up the rock.


Once we were back in our hotel room, settling in for the night, a horror befell the husband and I. Dread and fear set in as I pawed through our luggage, looking for an essential item, one I can never leave home without. I had forgotten my ear plugs. You may be laughing at me right now, but let me tell you, I am not just being over dramatic here (ok, well, maybe a little...). YOU come spend a night next to the husband with nothing to protect your ears, and I'll come sleep at your house. We'll see who's still in a good mood the next morning.

By the time I realized I'd forgotten to pack my saving grace, it was too late to go pick up a new pair on the island-everything was closed. I cranked up the A/C to act as a white noise machine, jammed some tissue in my ears, and tried not to think about the imminent snoring that would soon fill the room. Sadly, my efforts were for naught, and neither the husband nor I enjoyed much sleep that night.

Thankfully, we had no hard and fast plans our second day, so I slept in late the next morning before heading out to breakfast at The Pancake Cottage (the same place we'd enjoyed our mojitos the day before). I opted for their bacon waffles, accompanied by a large bowl of sliced fruti, and a glass of water.


The husband went for bisquits and gravy (with the gravy on the side) and 3 buttermilk pancakes, as well as a hot cup of coffee. He was quite happy with my suggestion that he order the gravy on the side, since he hates how the bisquits are usually swimming in gravy; he prefers to just dip each bite into the gravy. While I wolfed down my food, and some of his, the husband left half of his pancakes untouched, having reached his stomach's limit. I've always been the big eater, while he is my dainty little bird. ;)


After breakfast, we rented a golf cart for 3 hours and drove around the island like a couple a bats outta hell. I'll admit, I was a bit nervous, clutching the side, as we took some windy turns up the hills, but it was a lot of fun. A lot of streets are closed to rental carts, most likely to keep the tourists from annoying the residents, but we didn't let that totally stop us. We made a few illicit turns into "no rental" territories, getting lost once, and irking some islanders at another point. The views were amazing, though much to the husband's dissapointment, we didn't see any of the island's famed buffalo. I wasn't surprised though, since we couldn't take the cart into the interior of the island.


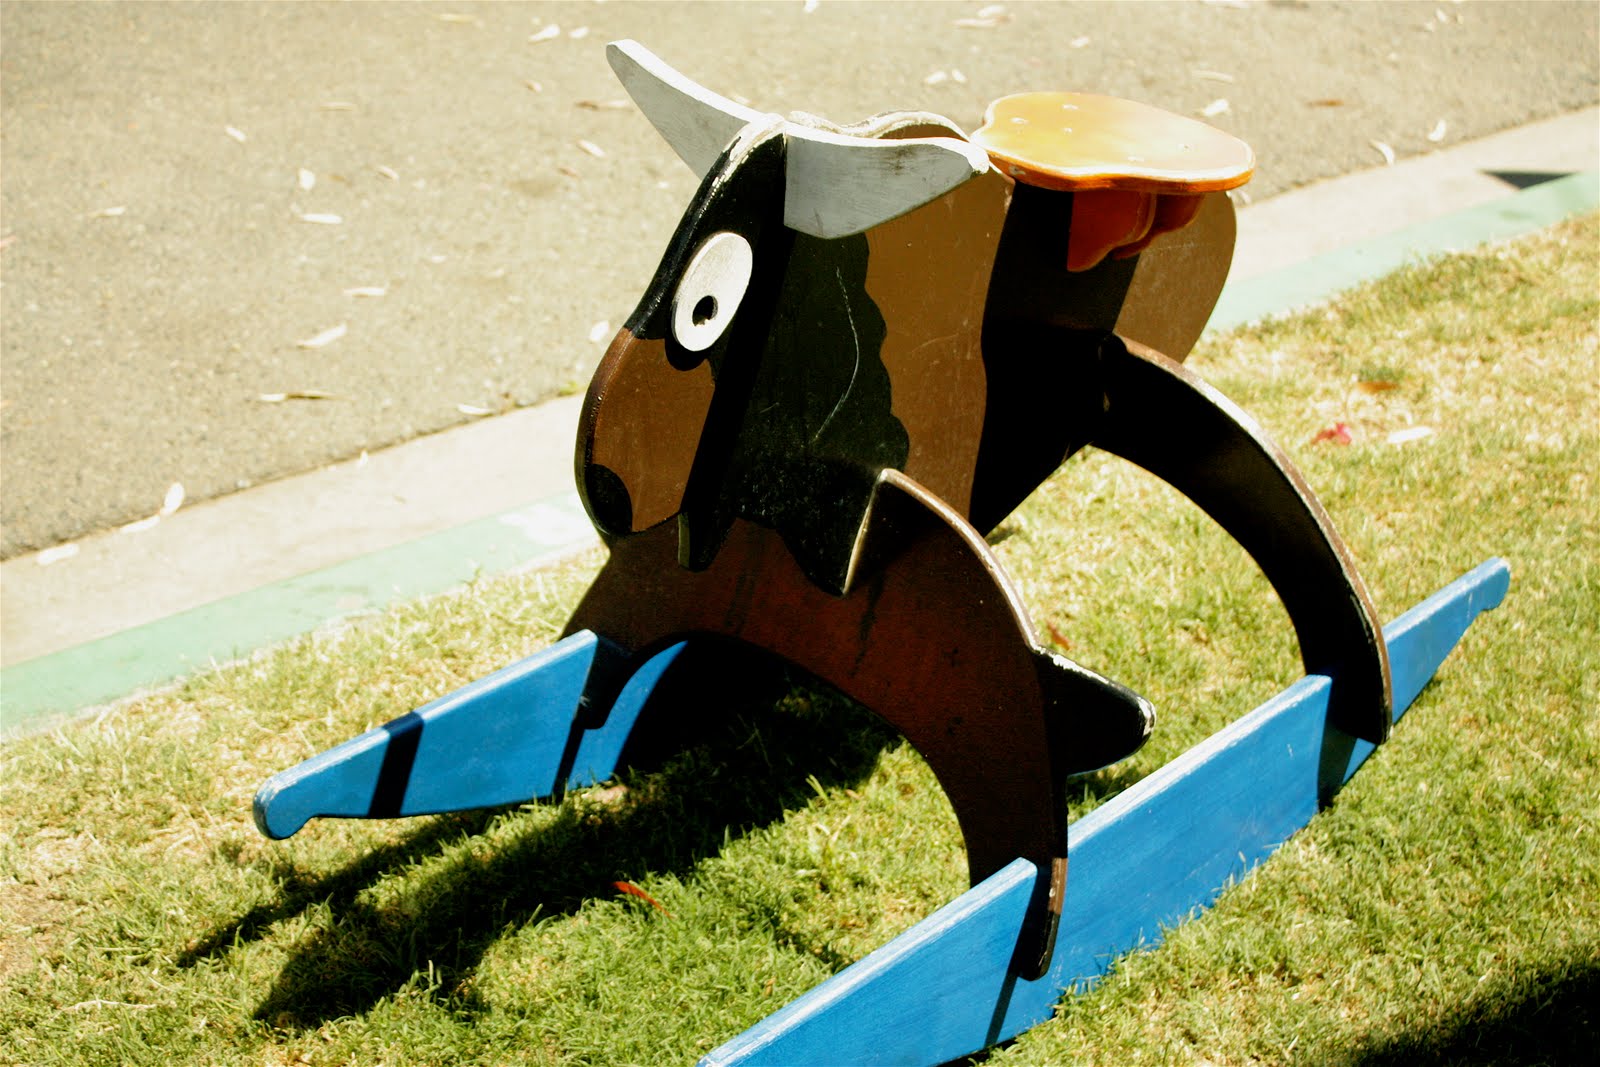
We did see this cute little buffalo though. I wanted to buy it, but it wasn't for sale and the husband didn't want to help me steal it.


That night we ate some mediocre food on a patio overlooking the harbor, wrapped in our beach towels becasue it was so cold, before setting out to explore on foot. There wasn't much left to explore at this point, since Avalon is so tiny, but it was fun to walk around together and talk.


The next morning we went parasailing, something I have wanted to do for at least 15 years! Originally we were only going to go up 900 feet because I was too scared to go the full 1,400 feet, but the owner said he'd send us up to 1,400' for the 900' price, so we agreed. I can't pass up a good deal. We nervously boarded the speed boat with another young couple, who I volunteered to fly first. I am so nice. We watched them flying high above the sea for about 10 minutes or so, and then it was our turn. The husband was excited, but I was incredibly nervous. They told us not to worry about falling, that if the rope broke or the boat stalled out, we would gently float down to the water, courtesy of the giant parachute we were attached to. Once we were 1,400 feet up in the air, this was not comforting to me.


But, it was incredibly awesome, if freezing cold, and I would totally do it again if given the chance. It was actually really peaceful at the top, with the water and the little town far below us. I even released my death grip on the straps for a moment to hold the husband's hand and wave to the camera below.


After our parasailing trip, there wasn't much left to do, though we still had about 4 hours left on the island. We walked around, taking pictures of the vacation homes, talking, and soaking up the sun. For lunch we grabbed a couple of buffalo burgers, a large order of fries to share, and some sodas on the pier. I really liked the buffalo burgers; they were small, but dense and filling. I guess this was actually our closest brush with buffalo on Avalon....too bad we were eating them, rather than watching them roam through the brush. Oh well, they were tasty and I wouldn't mind another.


Finally it was time to get on the boat and bid Avalon adieu. We sat on benches on the back deck of the boat, watching the island fade in the distance, and breathing in the cold, salty air. As we approached Long Beach, we stood by the rail, letting the sea spray hit our faces, trying not to get knocked over by the wind and rocking of the boat. I didn't get sea sick (unlike our Mexico cruise a few years back), but now, a few days later, it still feels like I am standing on the unsteady deck of the ship.

LinkWithin

Blog Widget by LinkWithin